.jpg)
Now that I have finished another pipes and Braids, here are a few thoughts and tips.
You can always make the bag longer by adding a few more rows to the main part of the bag or even adding more pipes...simple thought but you really ought to think of customizing size to suit your needs.
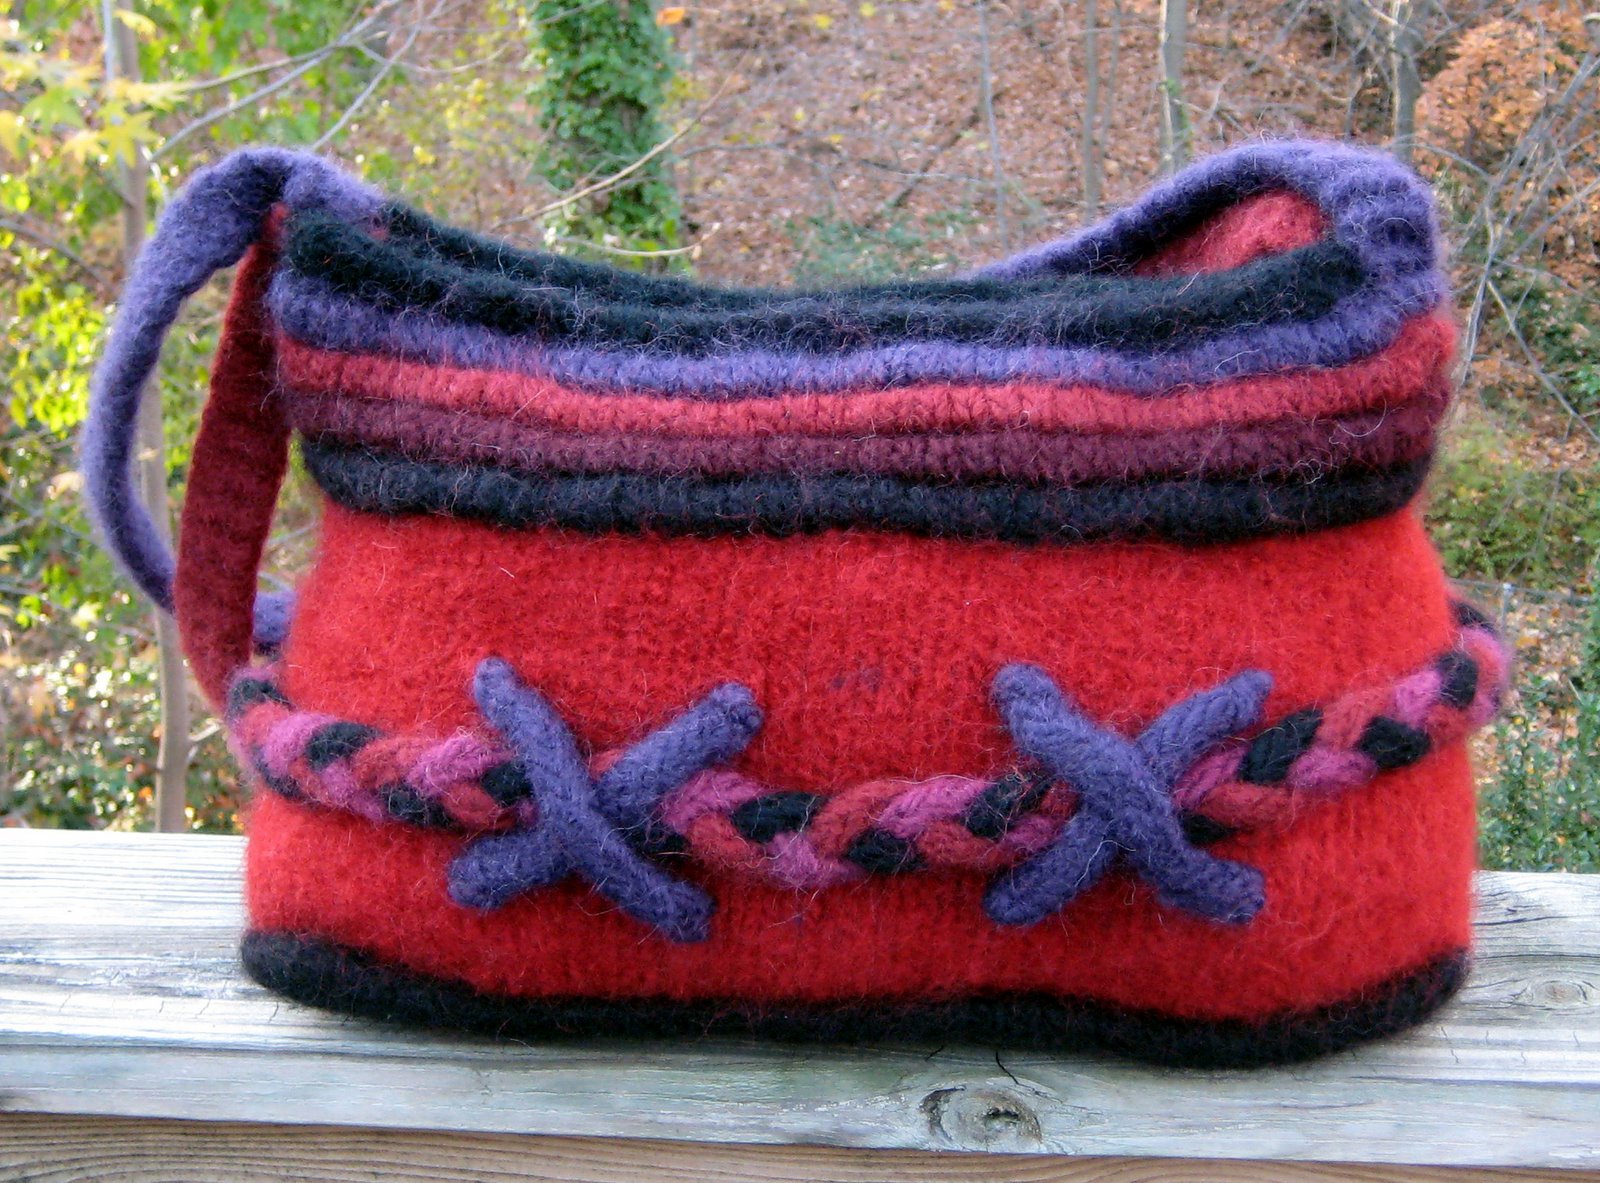
Make sure you sew on the X's and thread the braid through before you felt the bag. I had forgotten to do this and felted the bag, and then had to felt the additional pieces separately and sew it all into place afterwards which was a bit harder then sewing them in the pre-felted stage.
Make certain you like the way the braid fits around the bag. It should not be droopy or conversely too tight either. If it seems to long you can either unbraid however much you need to and re-tie the end or even cut it off and re-secure the ends.
Secure the part in which you have sewn the ends of the braid together, underneath one of the X's by tacking it down through the X so those pesky ends don't show.
Lastly if the braid ends up not being the way you want it to be after felting you can confidently cut it off and re-sew it so it is more to your liking
.jpg)
I have made some slight changes and a minor color correction on Cables and pockets (thank to Valerie) as follows
Page 4:
Bag strips are done in Oatmeal bulky wight which is listed as [D}. In the directions I also call it [C].
I like the look of the top strips to be 2 rows taller so I am amending that section on pg. 4 to read as this
Using #13 circular needle and [D] working back and forth in garter stitch, drop first stitch marker and k across 40 sts, drop next 2 stitch markers, turn work and knit back on the 40 sts. you just knit across. Continue with garter st. on those 40 sts for a total of 10 rows (5 ridges).
It used to read 8 rows.
The yarn choice for the Exterior Cabled Pocket is not listed, it should be listed as [B]

.jpg)
.jpg)
.jpg)
.jpg)


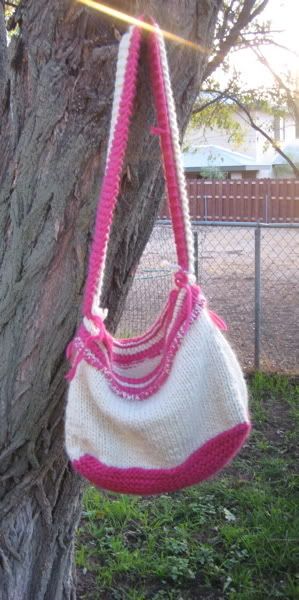
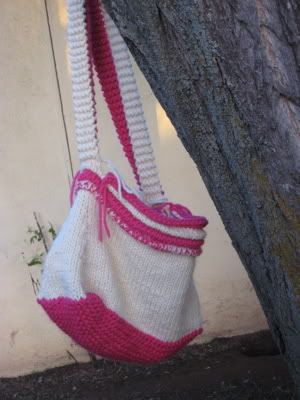
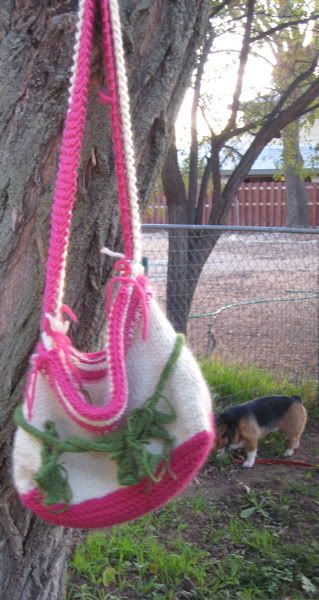
 Pipes and Braid :) Yes I am that scary scary secret testknitter of this bag!


.jpg)
.jpg)
.jpg)
